Insets for Bowls tutorial
We now have bowls with insets available - made to order, see here
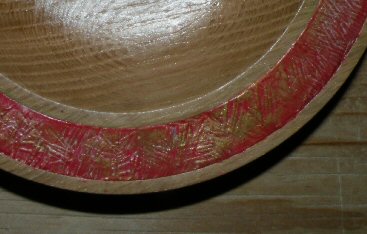
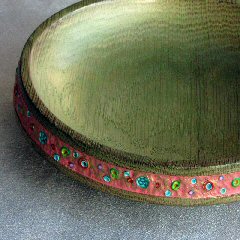
This is the first bowl we experimented with. a pattern of the inlay was created (by setting the bowl upside down on a piece of paper and drawing round it initially). Then a piece of black clay was rolled out and cut to size to fit into the inlay. This was texturised with the texture plate created here
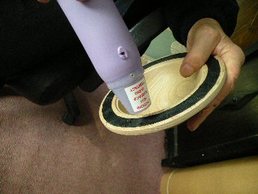
The clay was cured partly by using a heat gun. This until the clay was sufficiently cured to be able to take it out of the bowl in one (or two pieces). Do remember to put a mark underneath the inset on the bowl and another on the clay so you know exactly where to return it to when cured. Then cure for at least 30 minutes
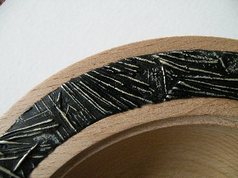
Inset the clay into the bowl putting only a few dabs of glue onto the bowl (do not cover the inset with glue as the wood needs to 'move'. We then put a finger full of old silver inka gold over the texture to create a highlight. Finally, this bowl was varnished with acrylic varnish (do not use regular wood varnishes as they may react with the clay)
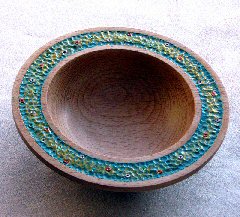
However - Sue Corrie has done things differently:
However - Sue Corrie has done things differently:
Sue Corrie says:
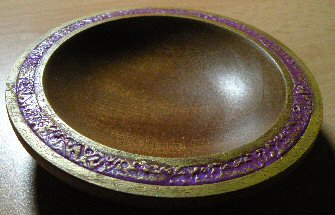
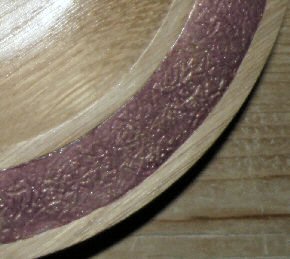
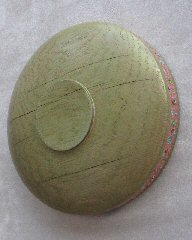
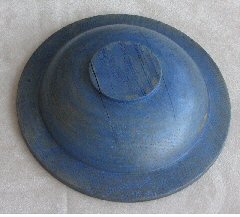
I was quite pleased with the bowls. The metallic paint (Inka Gold) looks much better in real life than in the photos. I was very worried that the oak bowls would split with the heat of the oven, and they did a little, but it was only obvious from underneath (see last 2 photos). The beech ones were fine.
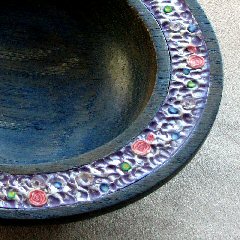
I tried doing a chrysanthemum cane insert in one bowl first, but I found it hard work, and I didn't like the look of it as much, so I took it out. I was always concerned that the bowls might dry out and crack. I coated the insert groove with a couple of thin layers of pva glue, then I sealed the oak bowls with dilute Inka Gold. I also rubbed a thin layer of renaissance wax into all of the bowls (after I put the clay on) in the hope that it would slow down any evaporation. I don't really know if any of that was necessary.
When I cured the first one the clay lifted and cracked in places, but I weighted it down with a pile of books, and by the time it cooled it was stuck firm and you couldn't tell there had been a problem. I thought it might be caused by moisture still evaporating from the wood, so I pierced the clay on the others with a fine beading needle every 1/4 inch or so. I didn't have any more problems after that
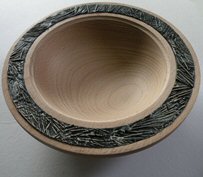
Three more efforts, the middle one being a 10 cm pin dish for which it is easy to produce a pattern by placing the bowl onto a sheet of clay: